Last Updated on June 19, 2024 by John Coleman
Having a toilet that rocks back and forth when you sit on it can be pretty annoying. Not only is it a nuisance but can also cause further damage over time. It’s best to go ahead and get it fixed now to save yourself a headache of repairs down the road.
The easiest fix for a rocking toilet on a tile floor is to level it with shims and make sure that the anchor bolts are snug (important not to overtighten). Significant to note, if your toilet is rocking back and forth and you have a puddle of water around the base, there is likely more components that need to be fixed such as repairing or replacing the flange and wax ring.
Introduction
Toilet rocking is an issue that most homeowners either have or will encounter throughout their home ownership. However, it is a problem that can usually be fixed quickly and inexpensively. In this guide, we will go through 10 easy steps that you can follow to fix a toilet rocking on a tile floor. Before we get into fixing, I want to lay out just a couple of tidbits of information to give you some foundational knowledge.
What is Toilet Rocking?
Toilet rocking is a term used to describe the movement or shifting of a toilet when pressure is applied. This can happen due to an unstable or unlevel floor, improper installation, damaged flange, or worn-out wax ring. It’s important to address this issue as it can cause damage to the toilet and potentially lead to leaks.
If you purchase through links on this site, we may earn a small commission. See our affiliate disclosure.
What Causes A Toilet To Rock?
There are a few common issues that contribute to toilet rocking such as a damaged wax ring or flange. Others will be related to anchor bolts not being tightened enough or the toilet may not have been installed correctly. In these cases, you will likely see water coming out from under the base of the toilet.
What Could Happen if You Don’t Fix a Toilet Rocking Back and Forth?
If you ignore a toilet that is rocking back and forth, it can lead to further damage and potential hazards. Here are some possible consequences of not fixing a loose toilet:
- Water leaks: A rocking or unstable toilet can cause water to leak out from the base, leading to water damage to your floors, potentially even the ceiling below, as well as a weak toilet flush.
- Damage to the flange: Over time, the constant movement of a loose toilet can cause damage to the flange, which is an essential part of the toilet’s structure. This can lead to more significant issues and costly repairs.
- Broken wax ring seal: The rocking motion of a loose toilet can break the seal of the wax ring, causing sewage leaks and unpleasant odors in your bathroom.
- Safety hazards: A wobbly toilet can potentially tip over and cause injuries, especially for elderly or young children. It can also be a tripping hazard if left unrepaired.
Overall, it’s essential to address a loose toilet as soon as possible to avoid any potential problems and ensure the safety of yourself and your household members. So if you notice any rocking or instability in your toilet, it is important to get it fixed asap!!
How Can I Prevent Toilet Rocking?
One way to prevent toilet rocking is by ensuring the best toilet for your needs is properly installed with a sturdy wax ring. You may want to use the steps in this guide to provide a solid foundation for your toilet BEFORE it begins to wobble and rock. Additionally, regular maintenance and inspections can help identify any issues before they become more serious.
A Few Tools and Materials You Will Need:
Plumber’s wrench
Towels
Here is an easy 10-step guide to fix a toilet rocking on a tile floor:
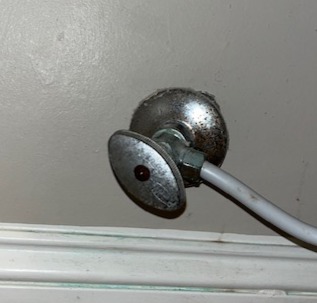
1. Turn off the water: Locate the shut-off valve behind the toilet and turn it clock-wise to stop water flow to the toilet.
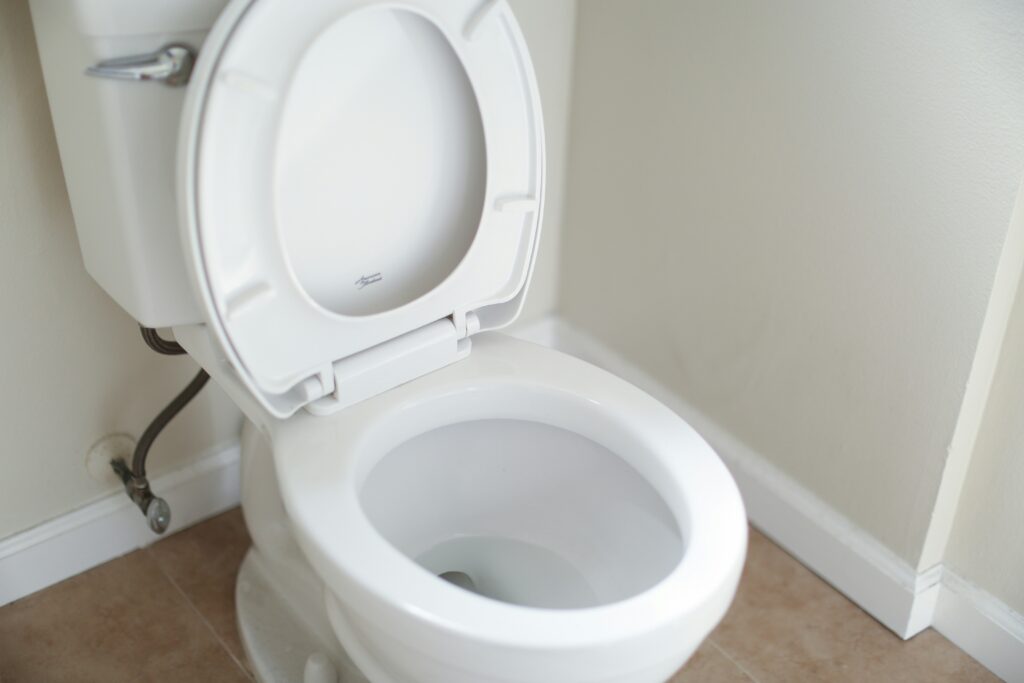
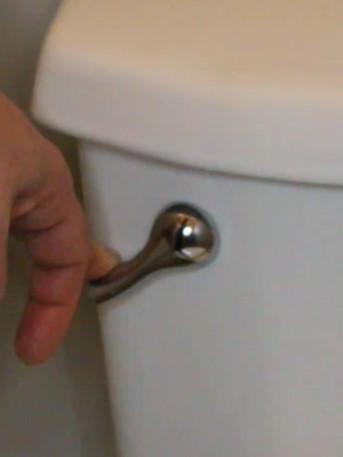
2. Flush and drain the water tank: Flush the toilet to remove most of the water from the tank and bowl.
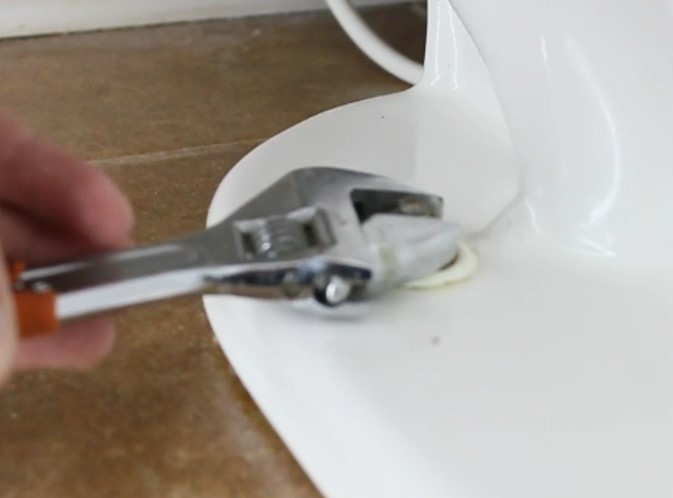
3. Loosen the anchor bolts: Use an adjustable wrench to carefully loosen the bolts securing the toilet to the floor. There should be two bolts located on either side at the base of the toilet.
5. Shim the toilet: Insert shims beneath the toilet in the direction that it tends to lean when weight is put on the top. Start with small, thin shims and gradually add more until the toilet is level in all directions.
6. Trim excess shims: Once the toilet is level, use a utility knife or another suitable cutting tool to trim off the excess parts of the shims where they are flush between the base of the toilet and the floor.
7. Tighten the bolts: Gently tighten the bolts back into place. Be cautious not to overtighten as this might crack the porcelain. The shims should help stabilize the toilet.
8. Check the level again: Recheck the level to ensure the toilet is level in all directions. Make adjustments as necessary by adding or removing shims.
9. Turn on the water: Turn the water supply back on by turning the knob counter-clock-wise and allow the tank to fill. Though this process shouldn’t have caused any leaks, it’s always best to check around the base of the toilet just in case. If there are leaks, tighten the bolts slightly or readjust the shims. If there are still leaks after you tighten the bolts and readjust the shims, it is likely related to a failed wax ring and/or flange.
10. Secure the toilet: Once the toilet is level and there are no leaks, you can either caulk or use a caulk tape sealant strip around the base to prevent water from seeping underneath. I prefer to use the caulk tape because it will allow water to seep from under the toilet so you will be able to detect a leak if one ever occurs.
Conclusion
Having an unlevel toilet is a common problem in homes. However, it can be easily and inexpensively fixed. Remember, if you encounter any issues or feel uncomfortable with the process, it’s always best to contact a professional plumber to ensure the toilet is properly and safely leveled.
Frequently Asked Questions
Q: What if I cannot trim the shims flush with the toilet base?
A: If you’re unable to trim the shims flush, it’s important to cut them as close as possible to prevent any tripping hazards or aesthetic issues. Ensure that the protruding part of the shim does not compromise the stability of the toilet.
Q: Do I need to turn off the water supply to the entire house to reconnect the toilet water?
A: No, you usually only need to turn off the water supply valve located near the base of the toilet. If this valve is not present or not working, you may need to turn off the main water supply to the house temporarily.
Q: How do I know if my toilet is level before I start?
A: You can use a standard level tool by placing it on the toilet bowl rim both front-to-back and side-to-side. A level will indicate whether the toilet sits flat or if it needs adjustment.
Q: Can I use any type of shim material?
A: It is best to use plastic shims designed for toilet installation, as they are water-resistant and more stable than wood or metal, which can corrode or rot.
Q: What should I do if I overtighten the bolts when securing the toilet?
A: If bolts are overtightened, they can crack the porcelain of the toilet. If this happens or you’re concerned, loosen the bolts slightly and ensure the toilet is still stable. If there’s a crack, you will likely need a professional’s help or a new toilet.
Q: Is it absolutely necessary to caulk around the base of the toilet?
A: Caulking is not mandatory; some professionals omit it for easier leak detection while others recommend it for hygiene and stability reasons. Unless local code specifies, it is a matter of personal preference.
Q: What if there are leaks after reconnecting the water supply?
A: If you notice leaks, first ensure that all connections are tight and that the bowl isn’t cracked. You may need to readjust the shims or replace the wax ring if the leak persists. Contacting a plumber is advised if the problem continues.