Last Updated on June 19, 2024 by John Coleman
Introduction
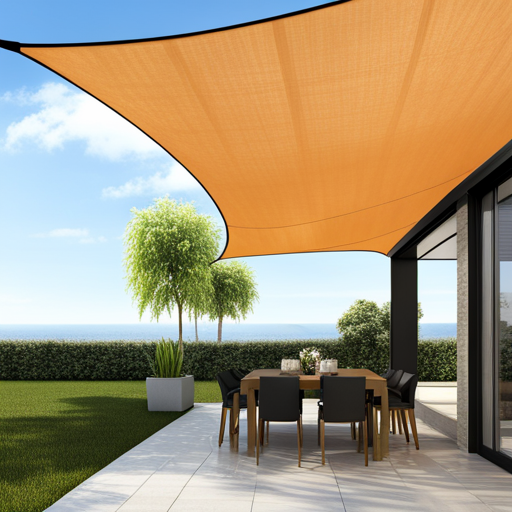
Whether you’re looking to create a chill outdoor space or just jazz up your patio, hanging sunshade sails are the perfect solution. These versatile features not only give you a break from the sun’s rays but also bring a stylish and modern vibe to your outdoor area. This DIY guide has got you covered on how to hang sunshade sails as well as additional tips, so you can fully enjoy your outdoor spaces all year round.
What are the Benefits of Hanging Sun Shade Sails?
Hanging sunshade sails offer multiple benefits, making them a popular choice for outdoor spaces. The main benefit is providing shade and protection from the sun’s harmful rays. Sunshade sails can decrease the temperature in your outdoor space by up to 20 degrees, making it more comfortable to spend time outside during hot summer days. Additionally, they also protect your outdoor furniture and other items from sun damage, prolonging their lifespan and saving you money.
If you purchase through links on this site, we may earn a small commission. See our affiliate disclosure.
What Materials are Needed to Hang Sunshade Sails?
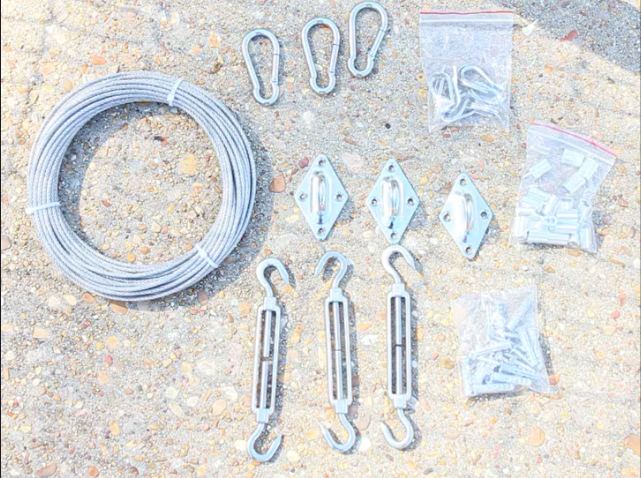
Before starting your DIY project, it’s important to gather all the necessary materials:
- Sunshade sail of your choice
- Shade Sail Hanging Kit (if not included with shade sail) Note: Look at items in the kit, it may contain more or less of what you need. It may be cheaper to buy items separately as listed below.
- Shade Sail Clamps (also referred to as intermediate fixtures)
- Mounting posts (if not using existing structures)
- Ladder
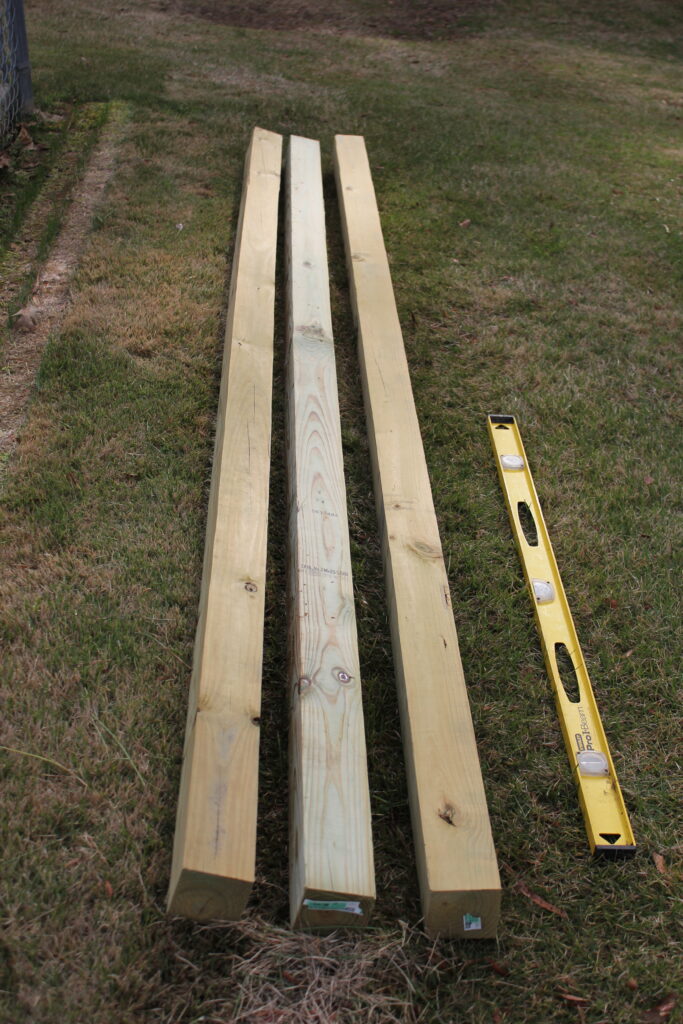
- 2×4 lumbers or something compatible to brace posts upright.
- Concrete mix and bagged gravel (to put in the hole for securing posts)
- Drill
- Stainless steel eye bolts (if you are using wood posts) or wall anchors (if attaching to existing structures) ( both used for attaching the sail to the posts)
- Wire rope
- D-rings or carabiners (for secure attachment)
- Turnbuckles (for tension adjustment)
- Measuring tape
- Spirit level (to ensure posts are upright)
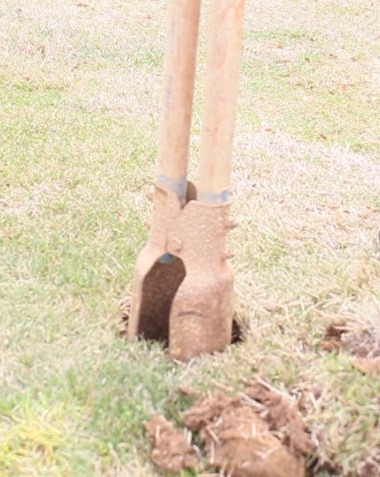
- Post Hole Diggers or Shovel (for digging post holes)
- Safety gloves and safety glasses.
Steps to Hanging Sunshade Sails
Installing shade sails requires some planning and a few tools. Here is the step-by-step guide:
Step 1: Position the Shade Sail for Installation
Unfold the shade sail and lie it on the ground in the position it will be in when installed. Note that the seams should be facing down. Positioning the shade sail on the ground as it would hang helps you in the next step.
Step 2: Identify the Anchor Points
The next step is identifying the anchor points on your patio or outdoor space. Anchor points should be at a height of 8′-9′. These are the spots from which you will attach the corners of your shade sail. Common anchor points include existing structures like trees or buildings. If you don’t have something like this to anchor to, then you will have to create an anchor point by installing a post that is made of metal, aluminum, or wood. Look at the shade sail you have laid out on the ground. Decide where you are going to anchor each corner ring and where you will have to install posts and mark those spots.
Step 3: Install Anchor Posts (Skip if attaching to existing structures)
(Note: The size of your shade sail will determine what size post you need to use. Generally, you should not use a post smaller than 4×4)
Before you begin this step, fold up the shade sail and store it away from the area where you are installing posts. This will prevent concrete and dirt from splattering on the sail which will save you the time of having to clean the sail before hanging.
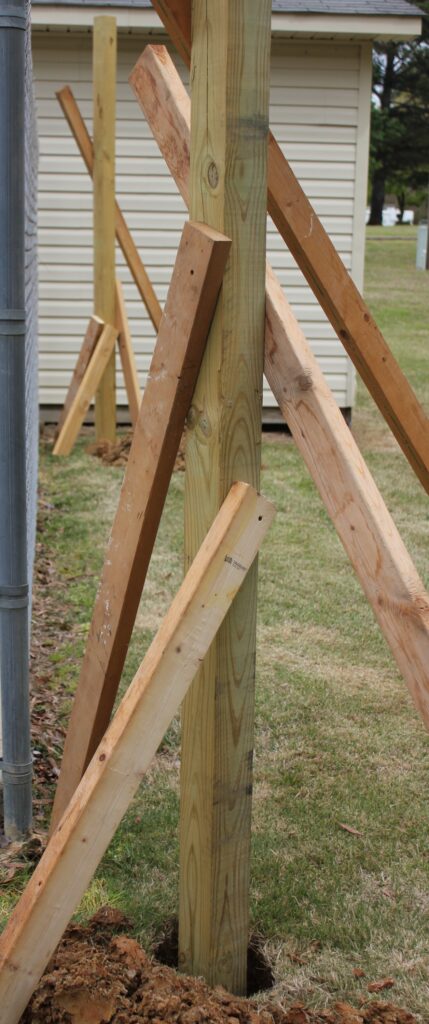
Use post-hole diggers or a shovel to dig holes for your posts. Make sure the holes are deep enough to hold the post (minimum 32″ deep; deeper with a larger shade sail) securely. Place the posts into each holeand fill them with a mixture of concrete mix and bagged gravel according to manufacturer instructions. Use a spirit level to ensure that the posts are upright. The posts should have a 5-degree lean away from the center of the sail. This will assist in the play the post will have when tension is applied. Brace the posts from four opposite sides with 2×4 lumber or something that will hold them firmly upright and in place while the concrete dries. Let the concrete dry completely before moving on to the next step.
Step 4: Prepare the Hardware
To install a shade sail, you will need some hardware such as turnbuckles, D-shackles, wire rope with clips, wall anchors, pad anchors, and screws with expansion inserts. Some shade sails you buy will come with mounting hardware while others do not; so be sure to verify when you purchase. If your shade sail did not come with mounting hardware, there are kits available to buy separately. In my experience, I have had a couple of projects come to an abrupt halt because I didn’t check to make sure I had all of the hardware I needed.
Step 5: Install the Anchor Points
Once your anchor points are identified, securely attach them to the structure using appropriate hardware. Use wall anchors to attach to a wall and eye bolts to attach to a post. Pad anchors can be utilized to attach to concrete or a deck, while rope can be used to secure directly to trees. The anchor points should be strong and secure enough to hold the weight of the shade sail.
Step 6: Attach Corner Rings
Next, attach the corner rings of your shade sail to the anchor points using turnbuckles and
D-shackles. The turnbuckles will allow you to adjust the tension of your shade sail. Go around the sail and tighten each turnbuckle a little at a time to evenly distribute the tension on all corners to ensure a taut and stable shade sail.
Step 7: Measure and Cut Wire Rope for Intermediate Fixtures (for extra stability)
Using a measuring tape, measure the distance between each corner ring and cut the wire rope to fit. I always like to leave some extra length for adjustments later on.
Step 8: Install Wire Rope with Clips
Attach the wire rope to the shade sail’s D-ring using clips and crimp them tight. Then, thread the wire rope through the turnbuckle and attach it to the anchor point using a clip and crimp.
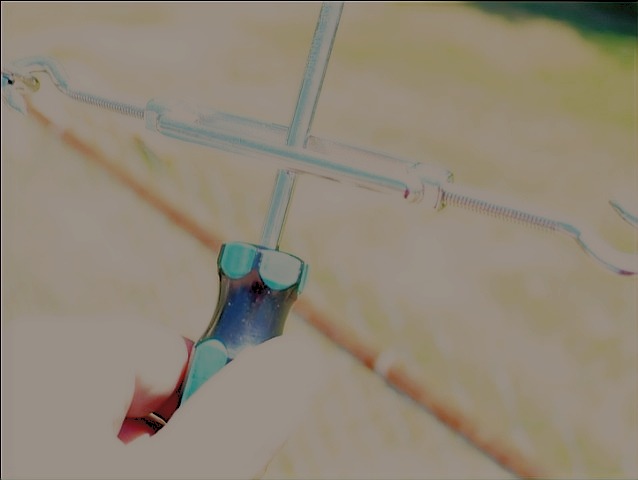
Step 9: Adjust Tension
Using the turnbuckles, adjust the tension on each corner of your shade sail until it is taut and level. (Tip: Insert a screwdriver through the center of the turnbuckle to act as a lever for tightening.) Before tightening, it is recommended to lubricate the turnbuckles with a lubricant such as anti-seize, vaseline, or WD40. This will make it easier to adjust the turnbuckles under tension. Make sure to evenly distribute the tension on all corners to prevent sagging or flapping.
Step 10: Install Intermediate Fixtures
If you are installing a large shade sail (larger than the standard size for the shape you have chosen), you may need additional intermediate fixtures for added support. These can be installed between the corner rings and anchor points using wire rope and turnbuckles. Repeat this process from one corner to the next corner of your shade sail so that all corners are connected and the wire rope runs along the entire outside hem of the sail. Use the shade sail clamps to attach the wire rope to the outer edge of the sail. Space them intermittently around the sail. Spacing distance will vary with the size of your sail.
Step 11: Check Tension
Once all the fixtures are installed, check the tension of your shade sail by gently pulling on each corner. The sail should feel taut but not too tight.
Step 12: Trim Excess Fabric (if any exists)
If there is any excess fabric hanging from the edges of your shade sail, trim it using a sharp pair of scissors. This will give your installation a clean and professional look.
Step 13: Enjoy Your New Shade Sail!
Congratulations, your shade sail is now installed and ready to provide you with a cool and protected outdoor space. Take some time to relax under your new shade sail and enjoy the fruits of your labor. Remember to periodically check the tension and hardware of your shade sail to ensure it is properly maintained. Sit back, relax, and enjoy the creation you have accomplished.
Additional Tips:
- If installing on a sloped surface, make sure to use additional hardware for added support.
- New shade sails will stretch over time, regularly check and tighten the turnbuckles as needed to maintain proper tension.
- For added durability, use UV-resistant and waterproof fabric for your shade sail.
- Always follow manufacturer instructions for proper installation and maintenance of your shade sail.
- Consider adding colorful fabric or decorative patterns to your shade sail for a more personalized touch.
- If installing in a windy area, consider using additional anchor points and reinforcing the edges of the shade sail with extra stitching.
- Remember to take down your shade sail during harsh weather conditions to prevent damage.
Conclusion
Installing shade sails is a simple and cost-effective way to add shade and style to any outdoor space. With the right tools and materials, anyone can successfully install a shade sail in their own backyard. By following these steps and considering our additional tips, you will have a beautiful and functional addition to your outdoor living area. So go ahead, grab your tools, and start creating your own shaded oasis today!
Frequently Asked Questions
Q: How deep do shade sail posts need to be?
A: Shade sail posts should be a minimum of 32″ deep or no less than 1/3 of the size of your posts. If installing in a high wind area, it is recommended to go even deeper.
Q: What material is best for a shade sail post?
A: The best material for a shade sail post is galvanized steel or aluminum. These materials are strong, durable, and resistant to rusting and corrosion. Wood posts are also an option but may require more maintenance over time due to weather exposure.
Q: How long does a shade sail last?
A: A shade sail can last anywhere from 5-10 years depending on the material and weather conditions. Proper installation and maintenance can also extend the lifespan of your shade sail. Ultimately, the longevity of your shade sail will depend on how well you take care of it.
Q: Can I use a shade sail over my pool?
A: Yes, you can use a shade sail over your pool! Shade sails provide excellent coverage for pools, keeping them cool and comfortable during hot summer days. It is important to ensure that the shade sail is installed securely and at a safe distance from the pool to prevent any accidents. Additionally, choose a shade sail material that is resistant to UV rays and chlorine for maximum durability.
Q: How do I clean my shade sail?
A: To clean your shade sail, mix mild soap with warm water and use a soft-bristled brush to gently scrub the surface. Rinse thoroughly with water and allow it to air dry completely before re-installing. Avoid using harsh chemicals or power washers as they can damage the material. Regular cleaning will help maintain the appearance of your shade sail and prevent any built-up dirt or debris from causing damage. It is also important to check for any tears or rips and repair them promptly to prevent further damage.
See Also:
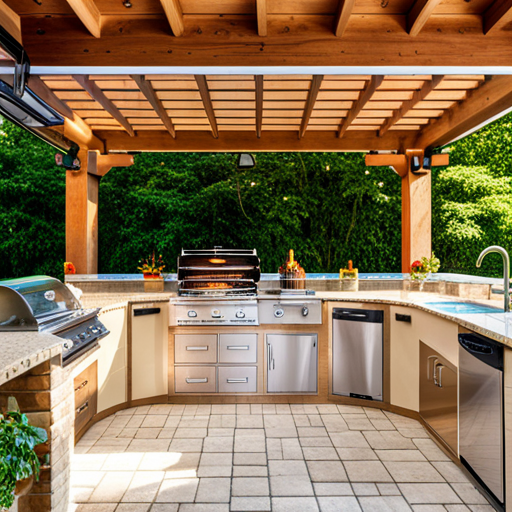
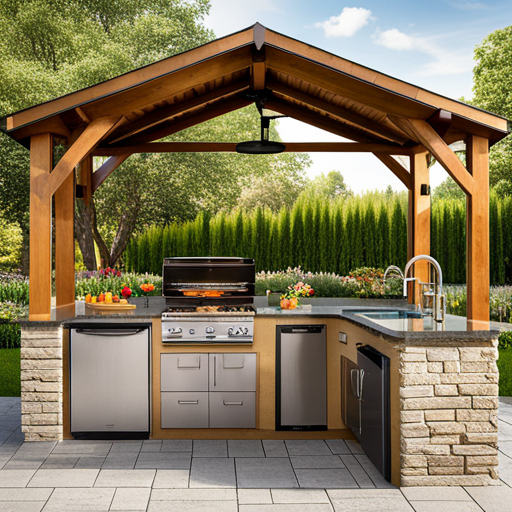
A Guide to Design a Low-Budget DIY Outdoor Kitchen
If you purchase through links on this site, we may earn a small commission. See our affiliate disclosure.