Last Updated on June 14, 2024 by John Coleman

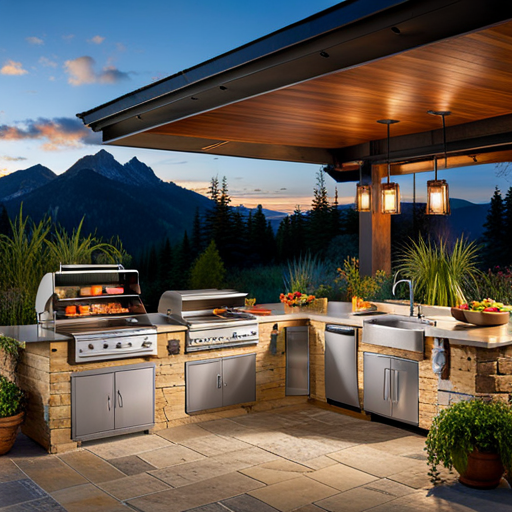
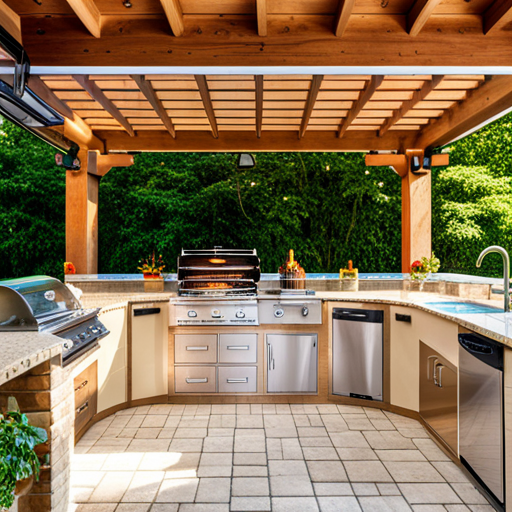
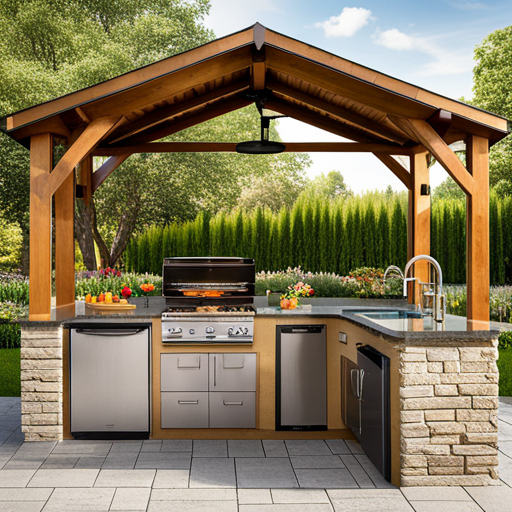
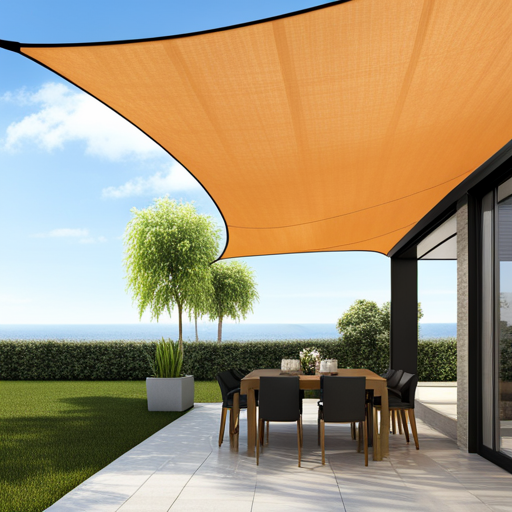
In the realm of home living, outdoor spaces are becoming just as important as indoor ones. Patios, once considered a simple slab of concrete where a barbecue might be placed, are now integral areas for relaxation, entertainment, and even personal wellness. One feature that has significantly risen in popularity among homeowners looking to enhance their patios is the lean-to roof extension. It’s a clever addition that not only provides shelter from the elements but can also reinvigorate the aesthetic and ambiance of any outdoor area.
If you are considering upgrading your patio and seeking insights into the advantages and procedures of installing a lean-to roof extension, you have found the right resource. This detailed guide is tailored for you, whether you are an experienced DIY enthusiast looking to create your outdoor retreat or a homeowner with a passion for design aiming to enhance the appeal and utility of your patio area.
Understanding Lean to Roof Extensions
A lean-to roof extension, also known as a mono-pitched or shed roof, is a simple, single-sloping roof typically attached to an existing building. What distinguishes this design is its minimalistic and unobtrusive profile, making it ideal for smaller patios and as an extension to contemporary architectural styles.
Basic Structure of a Lean-To Roof Extension
The primary structure of a lean-to roof extension consists of three main elements: the roof, the support posts, and the ledger board.
Roof:

The roof is typically constructed from timber rafters or joists that run parallel to the existing building’s wall. It can also be made with steel or aluminum for added strength and durability. The slope of the roof is determined by the angle of the extension and can vary depending on personal preference or local building codes.
Support Posts:
The support posts are placed perpendicular to the existing building’s wall, providing structural stability for the roof. These posts are typically made from wood or metal and are anchored to a concrete footing at their base for added strength.
Ledger Board:
The ledger board is attached to the existing building’s wall and serves as the main support for the roof. It runs parallel to the ground, providing a level surface for attaching the rafters or joists.
If you purchase through links on this site, we may earn a small commission. See our affiliate disclosure.
Pros and Cons of a Lean-To Roof Extension
Like any design, a lean-to roof extension has its own set of advantages and disadvantages. Here are a few to consider before deciding if this is the right option for your patio space.
Pros:
- Cost-effective: Lean-to roof extensions often require fewer materials and labor compared to other roofing options, making them an affordable choice.
- Easy installation: With its minimalistic design, lean to roofs are relatively simple to install, making it a popular choice for DIY projects.
- Space-efficient: The single slope design of a lean-to roof extension makes it an ideal option for small or narrow spaces as it maximizes the area while providing ample coverage.
- Extended Seasons: Enjoy your patio year-round, sheltered from rain and snow.
- Increased Home Value: Well-designed outdoor spaces can add value to your home when it comes time to sell.
Cons:
- Limited design options: Lean-to roofs have a straightforward design that may not be visually appealing to some homeowners.
- Snow accumulation: The single slope design can cause snow to accumulate on one side of the roof, which may require regular clearing and maintenance in areas with heavy snowfall.
- Limited overhead coverage: Compared to other roof designs, a lean-to extension provides limited overhead coverage, leaving some open space for rain or sunlight to enter.
Design Considerations
Before you get started on your lean-to roof extension, there are important design elements to consider.
Integration with Existing Patio Structures
A seamless transition between your existing patio and the new addition is crucial for a polished look. Consider how the extension will connect to your home, what impact it will have on the flow of your outdoor space, and how it will affect natural lighting.
Materials Used for the Frame

- Wood: A popular choice for its natural appearance, wood frames offer a traditional look and provide good insulation. However, they require regular maintenance to prevent rot and insect damage.
- Aluminum: Lightweight and durable, aluminum frames are resistant to rust and wear. They offer a modern appearance but can be more expensive compared to wood.
- Steel: Steel frames are extremely strong and durable, making them suitable for large lean-to roof extensions. They do require treatment to prevent rust and are usually more expensive than other materials.
Roofing Materials
- Polycarbonate: A versatile and durable material that is lightweight and allows for the transmission of natural light, making it ideal for lean-to extensions intended as sunrooms or greenhouses. It also offers excellent resistance to UV rays and weather conditions.
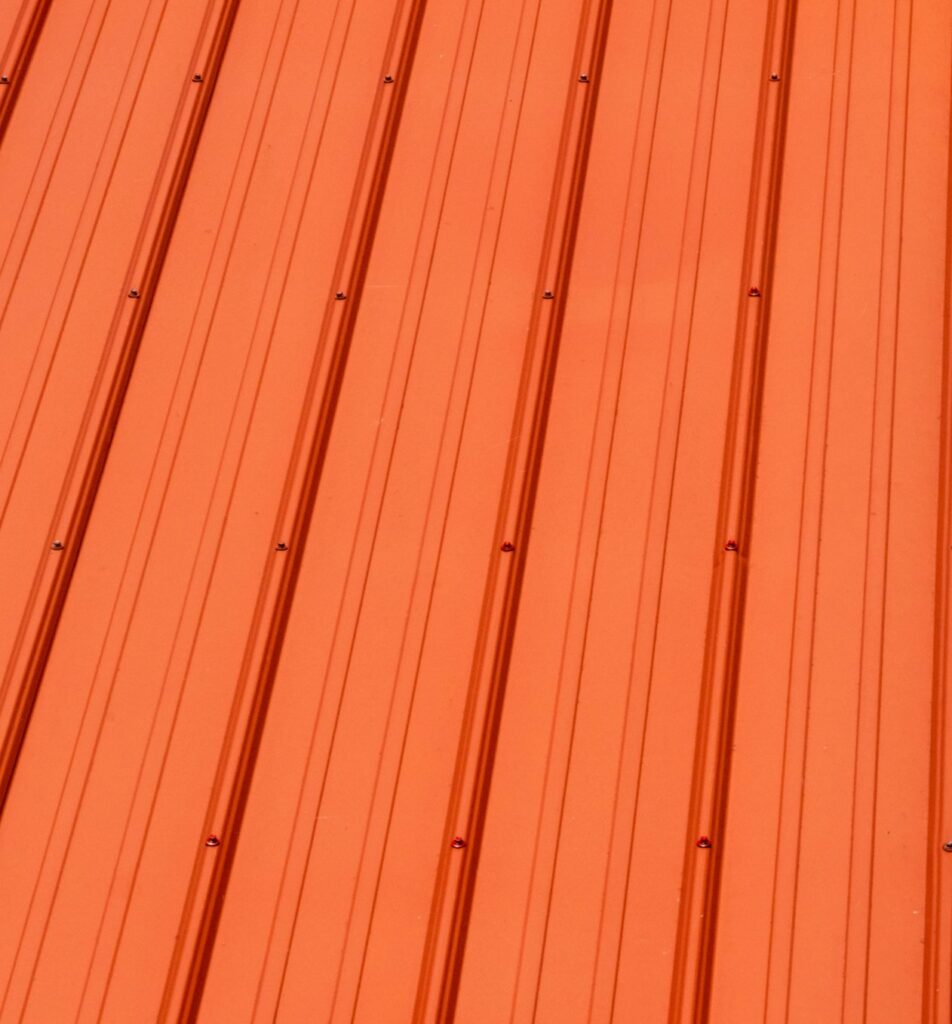
- Metal Roofing: Known for its longevity and resistance to severe weather, metal roofing is a suitable choice for lean-to extensions that require minimal maintenance and provide a modern look. Available in various colors and styles, it can also help in reflecting sunlight, thus reducing cooling costs in warmer climates.

Asphalt Shingles: A cost-effective and widely available roofing material, asphalt shingles are easy to install and come in a variety of colors and textures. While they provide adequate protection against the elements, their lifespan is shorter than that of metal or polycarbonate roofing. Regular maintenance is recommended to prevent issues such as algae growth and wind damage.
- Slate: A beautiful, natural material that offers excellent durability and fire resistance. However, slate can be heavy and fragile, making it more difficult to install compared to other roofing materials. It also tends to be more expensive but can add a luxurious touch to the design of a lean-to extension.

Clay or Concrete Tiles: A traditional roofing material that adds character and charm to any building. Clay or concrete tiles come in a variety of shapes, colors, and finishes, making them suitable for different architectural styles. They are durable and offer excellent protection against the elements but can be expensive and require professional installation.
Rubber Roofing: Made from recycled materials, rubber roofing is an environmentally friendly option for lean-to extensions. It is also lightweight, easy to install and has excellent resistance to UV rays and weather conditions. However, it may not be as aesthetically pleasing as other roofing materials.
Attachment to the House
Another important aspect to consider when choosing a roofing material for lean-to extensions is how it will be attached to the existing house. This can impact both the structural integrity and the overall look of the extension.
- Overlapping: Some roofing materials, such as metal or shingle tiles, can be overlapped with the existing roof of your house. This creates a seamless transition and can provide added protection against water leakage.
- Separate: Other roofing materials, such as slate or clay tiles, may require a separate attachment point for the lean-to extension. This may create a more distinct separation between the two roofs, but it is important to ensure proper sealing and waterproofing at the connecting point.
- Integration: For a more cohesive look, some homeowners choose to integrate the lean-to roof with the existing house by using the same roofing material. This can create a visually appealing and seamless extension, but it may limit your choice of materials.
Selecting the Pitch of the Roof
The pitch, or angle, of the lean-to extension roof is another important factor to consider when choosing a roofing material. The pitch affects the drainage of water and also plays a role in the overall aesthetic and functionality of the structure.
- Low Pitch: A low-pitched roof, with an angle below 15 degrees, may limit your options for roofing materials as not all materials are suitable for this pitch. However, it can still be achieved with certain materials such as rubber roofing or a special low-pitch membrane.
- Medium Pitch: A medium-pitched roof, with an angle between 15 and 30 degrees, allows for more flexibility in the choice of roofing material. Most traditional materials such as slate, clay or concrete tiles, and metal roofing can be used for this pitch.
- High Pitch: A high-pitched roof, with an angle above 30 degrees, is the most versatile in terms of choice of roofing materials. It also offers better drainage and can withstand harsher weather conditions. However, it may come at a higher cost due to the amount of material needed.
Permits and Regulations
Home improvement projects, especially those that affect the structure of your property, often require permits. Research local building codes to ensure your lean-to roof meets all necessary regulations before you begin construction.
DIY vs. Professional Installation
Taking on the installation yourself can be an incredibly rewarding project, but it requires a certain level of skill and time commitment. If you’re not confident in your abilities, or if the project is particularly large, it might be best to seek the expertise of a professional.
If you purchase through links on this site, we may earn a small commission. See our affiliate disclosure.
Cost of a Lean To Roof Extension
The cost of a lean-to roof extension can vary depending on the materials chosen, labor costs, and any necessary permits or regulations. According to an article by This Old House, labor cost alone can range from $10-$30 per square foot . Then, you have to add the cost of materials which depends on the size and complexity of the design you choose. The cost of a permit (if needed) will likely vary by where you live.
Installation Process
Installing a lean-to roof extension can be a significant project, and the level of complexity depends on several factors, including the size of the patio and whether you opt for a DIY approach or hire a professional.
Steps Involved in Adding a Lean-to Roof Extension
Initial Planning and Design:
- Determine the dimensions of the lean-to roof extension including length, width, and pitch.
- Choose roofing materials based on the pitch of the roof and personal preference.
- Develop a budget to include materials, labor, and any unforeseen costs.
Obtain Necessary Permits:
- Research local building codes and regulations regarding structure additions.
- Submit plans and applications for the required permits.
- Await approval before beginning construction.
Prepare the Site:
- Clear the area where the lean-to will be constructed.
- Ensure the ground is level and stable enough to support the structure.
Construction of the Base and Framing:
- Install foundations or base supports for the lean-to structure.
- Construct the frame, ensuring it’s securely attached to the existing structure if applicable.
- Ensure the pitch of the roof is accurate for drainage.
Roofing Installation:
- Install the chosen roofing materials, starting from the lowest point and working upwards.
- Ensure all materials are properly sealed and weatherproofed
Finishing Touches:

- Install any required insulation or ceiling materials.
- Apply paint or finish to exposed woodwork as needed.
- Clean the construction site and dispose of any debris responsibly.
Inspection:
- If required, schedule an inspection with local authorities to ensure the lean-to roof extension meets all necessary regulations and codes.
- Address any issues or adjustments as recommended by the inspection.
Maintenance and Longevity
A lean-to roof is an investment in your home’s exterior and, like any investment, requires care to ensure longevity.
Tips for Maintaining the Roof Extension
Regular cleaning to prevent debris from accumulating, periodic inspections for signs of wear, and addressing any issues promptly will help your lean-to roof last for many years.
Lifespan and Durability Considerations
The lifespan of your lean-to roof will depend on various factors, including the materials you choose, the climate in your area, and the quality of the installation. Proper maintenance can extend the life of your roof by a significant margin, so it’s essential to develop a regular maintenance plan.
Conclusion
A lean-to roof extension enhances the charm and functionality of your patio. It is a straightforward structure that, when skillfully constructed, brings satisfaction and enhances property value. For individuals seeking to elevate their outdoor living experience, it represents an excellent choice. Once you grasp the intricacies of the design, installation procedures, and advantages, you can confidently proceed. This investment results in a comfortable living area that harmonizes with your home’s environment. Are you prepared to elevate your space with a lean-to roof? The advantages are evident, whether you opt for a DIY approach or engage professionals. Your outdoor sanctuary is within reach!
Frequently Asked Questions
What is the best pitch for a lean-to roof extension?
The best pitch for a lean-to roof extension can vary depending on personal preference and the purpose of the structure. However, a pitch of 2/12 to 5/12 is commonly recommended for optimal drainage and stability. It’s essential to consult with a professional to determine the best pitch for your specific needs.
Can I install a lean-to roof extension myself?
While a lean-to roof extension can be a relatively simple and straightforward project, it is always recommended to consult with professionals before attempting any installation. They have the necessary expertise and experience to ensure proper installation and safety measures are taken.
How long does it take to install a lean-to roof extension?
The duration of installation will depend on various factors such as the size and complexity of the project, the availability of materials, and weather conditions. On average, a lean-to roof extension can take anywhere from a few days to a couple of weeks to complete. It’s best to consult with professionals for a more accurate timeframe.
What type of foundation is needed to build a lean-to roof extension?
The type of foundation needed for a lean-to roof extension will depend on the specific structure and local building codes. In some cases, a concrete slab may be required, while in others, posts or piers may suffice. It’s crucial to consult with professionals to determine the best foundation option for your project.
Can I add windows and doors to my lean-to roof extension?
Yes, you can add windows and doors to your lean-to roof extension. This will not only enhance the aesthetic appeal of the structure but also provide natural light and ventilation. It’s important to consider the placement of these features to ensure they do not interfere with the structural integrity of the roof or compromise its functionality.
How can I maintain a lean-to roof extension?
To maintain a lean-to roof extension, regular inspections and maintenance are crucial. Check for damage, clean gutters, ensure proper drainage, and trim overhanging branches. Prompt repairs are key to prevent issues and extend the roof’s lifespan. Consult professionals for major maintenance. Proper ventilation and insulation help prevent moisture buildup and regulate temperature, reducing damage risks.